KeyShot’s Image tab is an easy way for you to reduce time spent post-processing renders. Along with greater control, you also have features like Bloom that allow you to further stylize renders to your needs and liking. Read on to learn how you can leverage KeyShot’s Bloom settings to create more dynamic renderings.
KeyShot Quick Tip: Creating Drama with the Bloom Effect
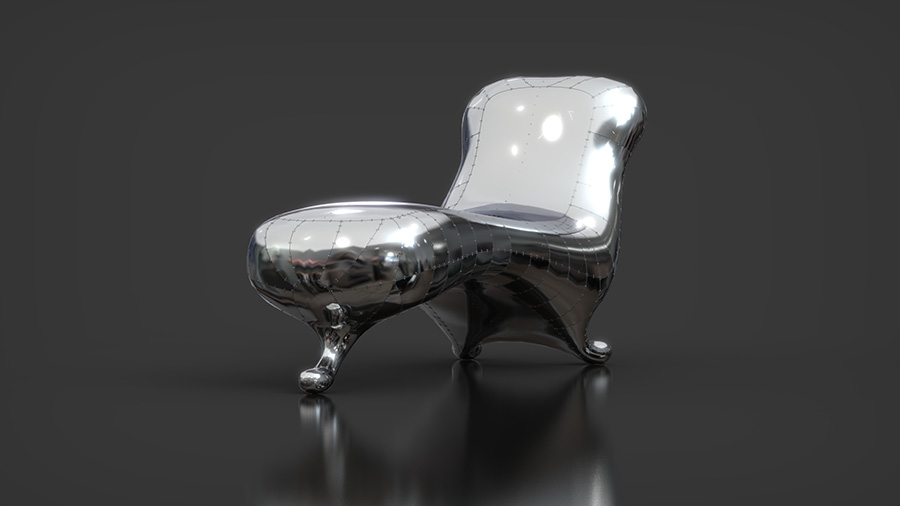
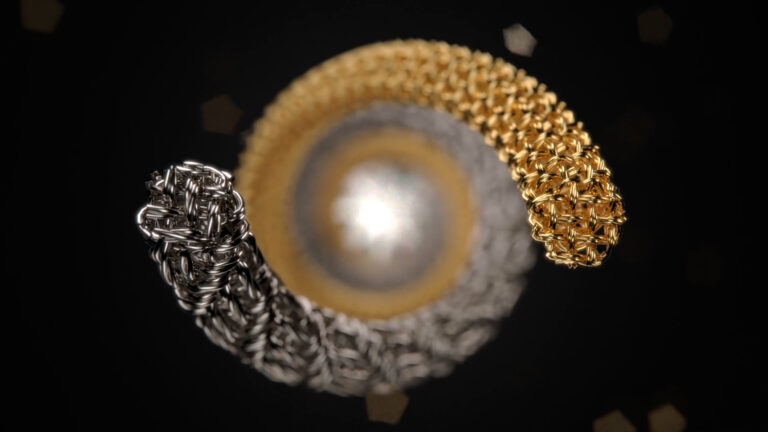
Bloom allows to both soften the sharp edges and increase the intensity of a reflection. It will be more noticeable in highly reflective materials like polished aluminum. It works great when creating jewelry in KeyShot for just a touch of soft elegance or for an automotive rendering when you need a little extra glow around a headlamp, taillight, or console cluster. On the Image tab, Bloom is an effect you can enable for both the Basic and Photographic options but we will demonstrate it using the Basic option.
Download a Model to Try the Bloom Effect
Before You Begin
Make sure you’ve finished lighting your scene and you’ve positioned your lighting in a way that creates a few bright highlights to maximize the bloom effect.
Step 1: Open the Lighting Tab and Enable Bloom
Once the scene is lit and you have some noticeable highlights to work with, go to the Image tab on the Project window (Spacebar) and scroll down to the Bloom option. Once you check the Bloom checkbox, you’ll enable editing for Bloom’s three settings.
- Bloom Intensity – controls the brightness of your bloom effect and can be set from 0 to a value of 2.
- Bloom Radius – controls how far your bloom extends out from the highlight. This is measured in pixels from a value of 0 to 128.
- Bloom Threshold – controls the clipping of the effect. Essentially the larger the bloom threshold value, the more the effect will be confined to the brightest pixels in the scene.
Step 2: Adjust the Bloom Intensity and Bloom Radius
To create your bloom effect, first, adjust the Bloom Intensity and Bloom Radius. To create a more dream-like and overly exaggerated bloom effect, start by setting the Bloom Intensity to its maximum value of 2 and then adjust the Bloom Radius to a larger value. Start with something near the middle range of the value, like 60, and work your way up or down from there.
Step 3: Dial in the Bloom Threshold
At this point, the scene should look pretty blown out and most of the detail will be missing. The next step is to adjust the Bloom Threshold to bring back some of that detail. As mentioned earlier, the larger the Bloom Threshold value, the more the effect will be confined to the brightest pixels in the scene. To dial in your effect and bring back detail, increase the Bloom Threshold value until you reach a point where the majority of the image is sharp and in focus and the brightest highlights are glowing from the bloom.
At this point, you can dial in all three settings until you’re satisfied with the look of your scene. If you want a more subtle look, try reducing your Bloom Radius to make the highlights appear less aggressive. Working with KeyShot’s Image settings can significantly reduce post-processing time, and with settings like Bloom, KeyShot gives you the flexibility to create photorealistic images while exercising your stylistic freedom. You can learn more about Image Style settings in the KeyShot Manual.
What Can You Create?
We would love to see what you create with these tips. Visit the KeyShot Amazing Shots forum to see what others are creating and share your own work. And if you have a suggestion for another tip share it in the comments below.


