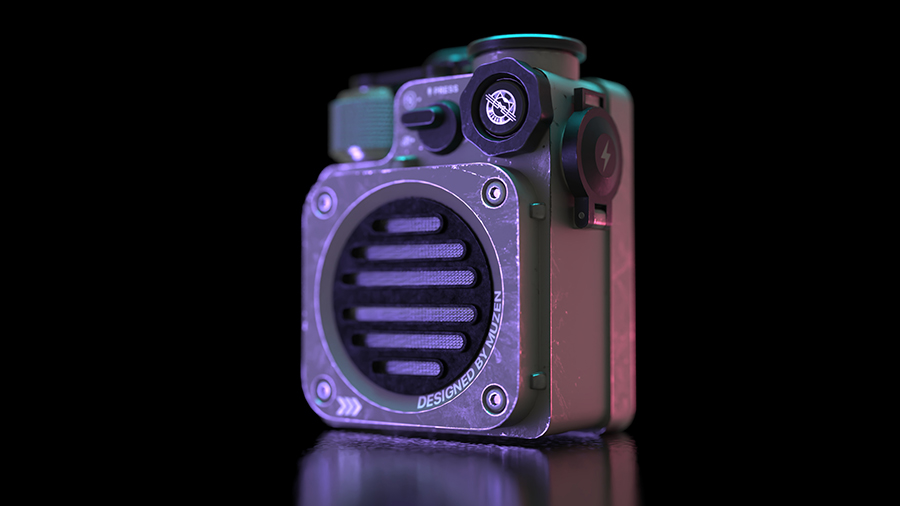
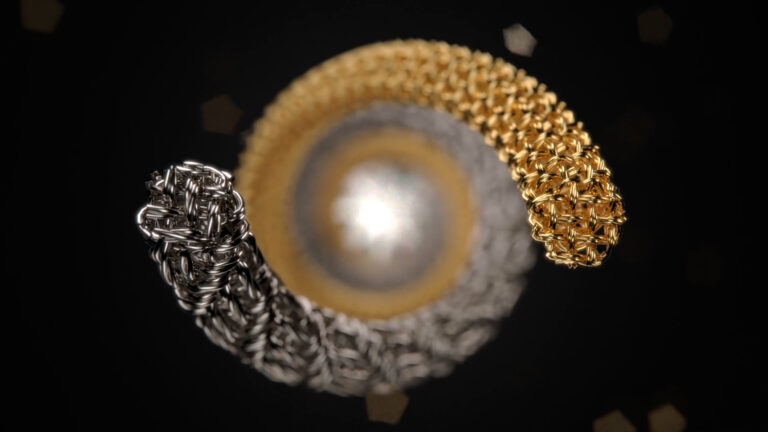
The KeyShot HDRI editor is a great tool for when you want to create real-world lighting but you’re limited by time or computing power. While the Physical Lights capability is the most accurate way to create realistic lighting and shadows, it can require more resources to render. The HDRI editor is the perfect solution for rendering realistic lighting, fast.
KeyShot HDRI Editor Custom Lighting
KeyShot environment capabilities allow you to drag and drop default lighting environments from the Library, Environments tab, import pre-built HDRI’s from third party libraries, or build them from scratch using the HDRI Editor. Let’s explore how to create a quick custom HDRI environment for your KeyShot scenes.
1. Open the HDRI Editor
To start, locate the Create Blank Environment Map option from the icons to the left of the Environments list. This will add a new environment to the list with no lighting and a flat dark gray background color.
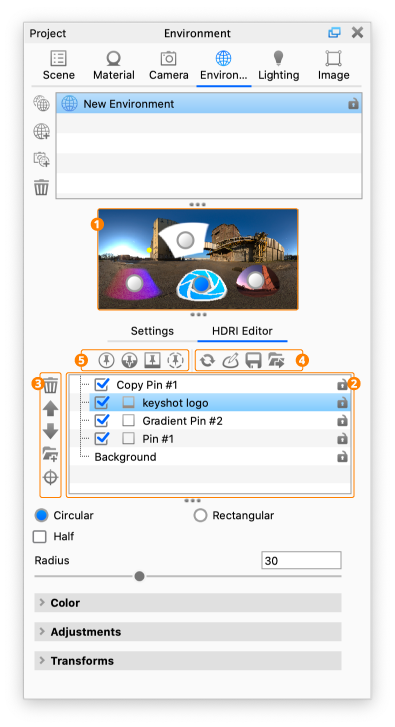
 Open the HDRI Editor by selecting the HDRI Editor tab under the Environment preview. Take note of the options available:
- Just below the tab is your Pin list, which contains any pins you’ve added to your scene as well as folders you’ve introduced to organize your groups of pins.
- To the left you have icons that allow you to delete, organize and target your pins.
- Below that you have a series of buttons that allow you to customize your environment’s background. This is also where you’ll find your pin’s settings, once they’ve been added and selected from the list.
Selecting Background from the list gives you background options. Most users stick with the Color background for their renderings, but Sun & Sky works spectacularly for outdoor renderings, and Image lets you add an image to give your rendering location specific context.
2. Add Your Pins (lights)
To add your first pin, go to the icons at the top of your pin list and select the left most Add Pin icon to add a new pin to your list. Each pin you add will represent a single light source. This first light will serve as our Fill light. (You can change the name with a slow double-click on the pin name in the pin list.) Add two more pins for a Key light and a Rim light. Don’t worry, we’ll adjust them next.
3. Adjust Your Lighting
The easiest way to adjust your lights is to select the pin, then select the Set Highlight target icon to the left of the Pin list. This will allow you to simply click the exact spot on the model you would like the light to hit and KeyShot will automatically position the light within the environment to cast a highlight on the desired location. Select Done (at the bottom of the Real-time View) when you have the light positioned as you like. Repeat these steps for your Key light, by aiming it at the front of the model, and your Rim light, by aiming it at the very top of the model, to separate it from the background.
Next, open the Color section and adjust the Brightness for each light to best suit your needs. Here, your Rim light will be the brightest to create a slight halo effect along the surrounding edges of your model. Your Key light will be the second brightest to make the front face more prominent. And, your Fill light will be the least bright, which should provide a nice “1,2,3 read” of the model’s surfaces.
You can also customize your pin’s shape by selecting the Circular and Rectangular option, below the Pin list, and cut the light in half by selecting the Half checkbox.
This is a basic look at the KeyShot HDRI Editor, but the tool gives you a ton of flexibility. From being able to change each individual pin’s shape to creating interesting color schemes, to creating more cinematic style lighting such as the ever-popular orange and teal lighting that you often see in movies and popular YouTube videos. The sky’s the limit, and as you master this tool you can get as creative as your imagination will take you. You can learn more about the KeyShot HDRI Editor in the KeyShot manual.
What Can You Create?
We would love to see what you create with this tip. Visit the KeyShot Amazing Shots forum to see what others are creating and share your own work. And if you have a suggestion for another tip share it in the comments below.


